Multi-Layered Bat SVG, Spooky Halloween: A Guide to Flawless 3D Shadow Boxes
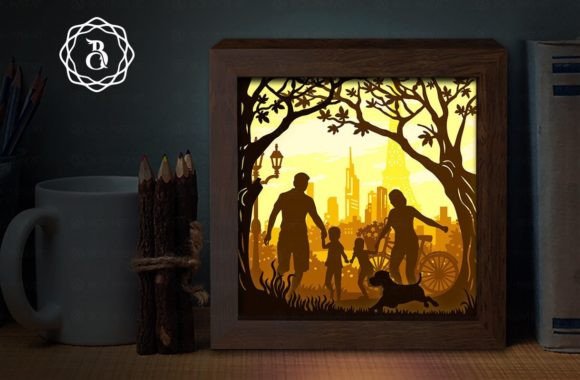
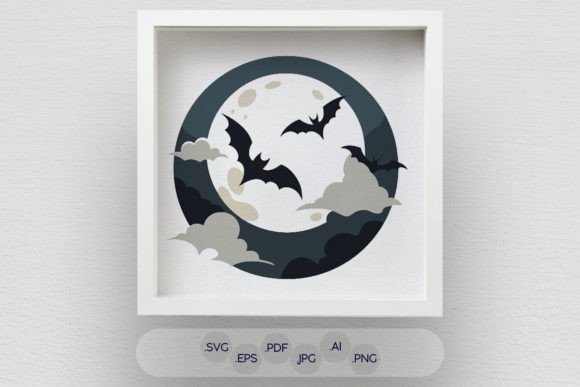
The allure of a Multi-Layered Bat SVG, Spooky Halloween design lies in its ability to transform flat materials into captivating depth. Whether you are crafting for your own home decor or preparing inventory for a seasonal market, the difference between a professional-looking shadow box and a messy stack of cutouts often comes down to preparation and material choice. This digital product is not just a simple silhouette; it is a complex assembly of separate layers designed to create a moonlit, eerie atmosphere through strategic spacing and shadow play.
Many creators rush into cutting these intricate designs without fully understanding the nuances of layering. This haste often leads to wasted materials and frustration. By understanding the common pitfalls associated with multi-layered vector designs, you can ensure your final piece—whether cut from plywood, cardboard, or cardstock—looks polished and intentional.
Understanding the Complexity of Layered Vector Files
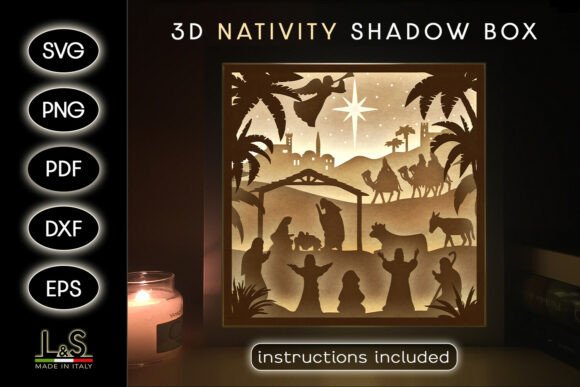
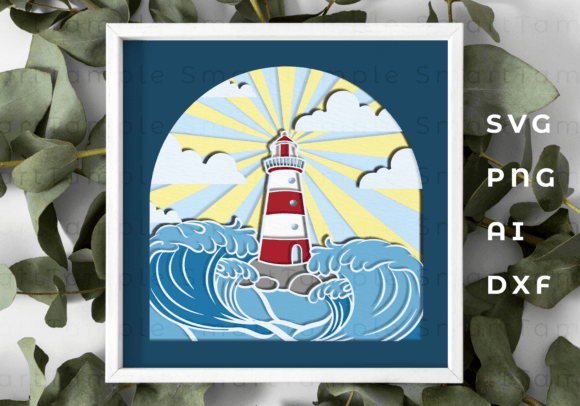
When you download a ZIP folder containing formats like .Ai, .SVG, .EPS, .PNG, and .PDF, you are receiving a toolkit, not just a single image. The Multi-Layered Bat SVG, Spooky Halloween file consists of multiple separate layers that must be aligned perfectly. A frequent mistake beginners make is treating these layers as independent decorations rather than parts of a cohesive whole.
If you ignore the GUIDE.pdf file included in your download, you risk assembling the pieces in the wrong order. This guide is crucial because it shows the specific layer numbering. Without it, you might place the background moon behind the foreground bat incorrectly, ruining the intended 3D effect. Always unzip the folder immediately upon download and review the guide before sending any commands to your CNC laser machine, Silhouette, or Cricut.
Material Selection: Avoiding Warping and Weak Structures
One of the most significant errors crafters make is selecting inappropriate materials for the scale of the project. The finished product dimensions for this specific design are 10x10 inches. While this seems manageable, using materials that are too thick or too thin can compromise the structural integrity of the shadow box.
- Plywood: Ideal for laser cutting, but ensure it is free of knots in the detailed areas. Cheap plywood often has voids that cause breakage during weeding.
- Cardboard: A budget-friendly option, but standard shipping cardboard can look rough on the edges. Use high-quality, layered cardboard for cleaner aesthetics.
- Paper/Cardstock: Perfect for intricate details, but requires precise adhesive application to prevent bubbling.
- Plexiglass: Offers a modern, sleek look but requires different laser settings to avoid melting edges.
Using a material that is too heavy for the frame can cause the entire shadow box to sag over time. Conversely, using paper that is too thin may result in tears when handling the small, delicate parts of the bat mandala files. Test your material with a small scrap piece first to determine the optimal cutting speed and power.
Precision Cutting and Machine Settings
Whether you are using a CNC router machine or a desktop cutting plotter, calibration is key. A common oversight is failing to account for the kerf—the width of the material removed by the blade or laser. In multi-layered designs, even a millimeter of deviation can cause layers to misalign, creating visible gaps that break the illusion of depth.
For those using laser cutters, focus heavily on the edge quality. Burn marks on wood or melted edges on acrylic can detract from the spooky elegance of the design. Adjust your air assist settings to minimize charring. If you are using a Silhouette or Cricut, ensure your blade is sharp. Dull blades drag paper fibers, resulting in jagged edges that are difficult to glue neatly.
Remember, this design is optimized for standard cardstock and plywood. If you wish to use a different material, such as thick MDF or metal, you may need to request a different file format or size from the designer. Do not assume the default settings will work for non-standard materials.
Assembly Techniques for Professional Results
The assembly phase is where many projects fail. Applying glue haphazardly can lead to visible residue, which ruins the clean lines of the vector design. Here are better approaches to ensure a pristine finish:
- Use Spacer Blocks: To achieve true 3D depth, use small spacer blocks between layers. This creates consistent shadows and prevents the layers from touching, which can flatten the visual impact.
- Apply Adhesive Sparingly: Use a fine-tip applicator for liquid glue or double-sided tape dots for paper. Avoid spray adhesives unless you are working in a well-ventilated area and can mask off areas effectively.
- Align Before Bonding: Dry-fit all layers first. Use the numbered pages from the GUIDE.pdf to verify the order. Once you are satisfied with the alignment, begin gluing from the background forward.
Rushing the drying process is another critical error. If you stack layers before the adhesive has set, the weight of the upper layers can shift the lower ones, causing a crooked final product. Patience here yields a significantly higher quality result.
Maximizing the Design’s Potential
This Multi-Layered Bat SVG, Spooky Halloween design is versatile. It is not limited to wall art. Consider using it as a centerpiece for a Halloween party, a unique gift for family and friends, or even as a decorative element in a retail window display. The bat mandala files offer a sophisticated twist on traditional spooky decor, appealing to adults who prefer subtle horror over gore.
For entrepreneurs, this design offers a high perceived value. A well-assembled shadow box can command a higher price point than simple vinyl decals. However, consistency is vital. If you are producing multiple units, create a jig or template to ensure every piece is assembled identically. This reduces production time and maintains brand quality.
Final Checks Before Completion
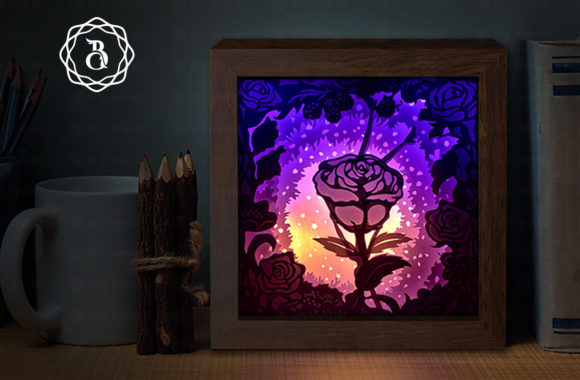
Before sealing your shadow box, inspect it under different lighting conditions. The interplay of light and shadow is the core feature of this design. Ensure that no glue strings are visible and that all layers are parallel. If you notice any misalignment, correct it now rather than after framing.
Additionally, consider the frame itself. A deep shadow box frame is necessary to accommodate the 3D nature of the artwork. Standard flat frames will crush the layers. Measure the total depth of your assembled layers and choose a frame with adequate interior space.
By paying attention to these details—material selection, machine calibration, careful assembly, and proper framing—you elevate your craft from a simple hobby project to a professional-grade decoration. The Multi-Layered Bat SVG, Spooky Halloween is a powerful tool in your creative arsenal, but only if used with precision and care. Take the time to understand the file structure, respect the material limitations, and assemble with patience. The result will be a stunning piece of art that captures the essence of the season with sophistication and style.